> For the complete documentation index, see [llms.txt](https://docs.toucanai.cloud/llms.txt). Markdown versions of documentation pages are available by appending `.md` to page URLs; this page is available as [Markdown](https://docs.toucanai.cloud/build/data-connections/how-to/add-a-database.md).

# Add a database

{% hint style="info" %}
**Target Audience**: Non technical users
{% endhint %}

### Goal

Connect a PostgreSQL, MySQL, ClickHouse, Snowflake, Oracle, or Google BigQuery database/warehouse to Toucan.ai to enable metadata analysis and chart creation.

***

### Prerequisites

* A verified [Toucan.ai account](/getting-started/quick-start/subscribe-to-toucan.md).
* An active organization.
* Valid credentials/connection details depending on the selected connector:
  * PostgreSQL/MySQL: Host, Database Name, Username, Password, Port, and SSL settings.
  * ClickHouse: Host, Username, Password (optional), Port, and TLS setting.
  * Snowflake: Account, User, Private Key (PEM), Warehouse, Database, and optional Role/Schema/Passphrase.
  * Oracle: Host, Port, User, Password, and Service Name (plus a TLS wallet ZIP when your database requires TLS).
  * BigQuery: A Google service account credentials JSON file.
* Network access granted to Toucan.ai static IPs (see [Supported Databases](/build/data-connections/supported-databases.md)).

***

### Steps

#### 1. Navigate to the Database Section

* Click the **Database** tab from the Toucan.ai home page.
* View the list of currently connected databases.

#### 2. Initialize the Connection

* Click the **Add a database** button in the top-right corner.
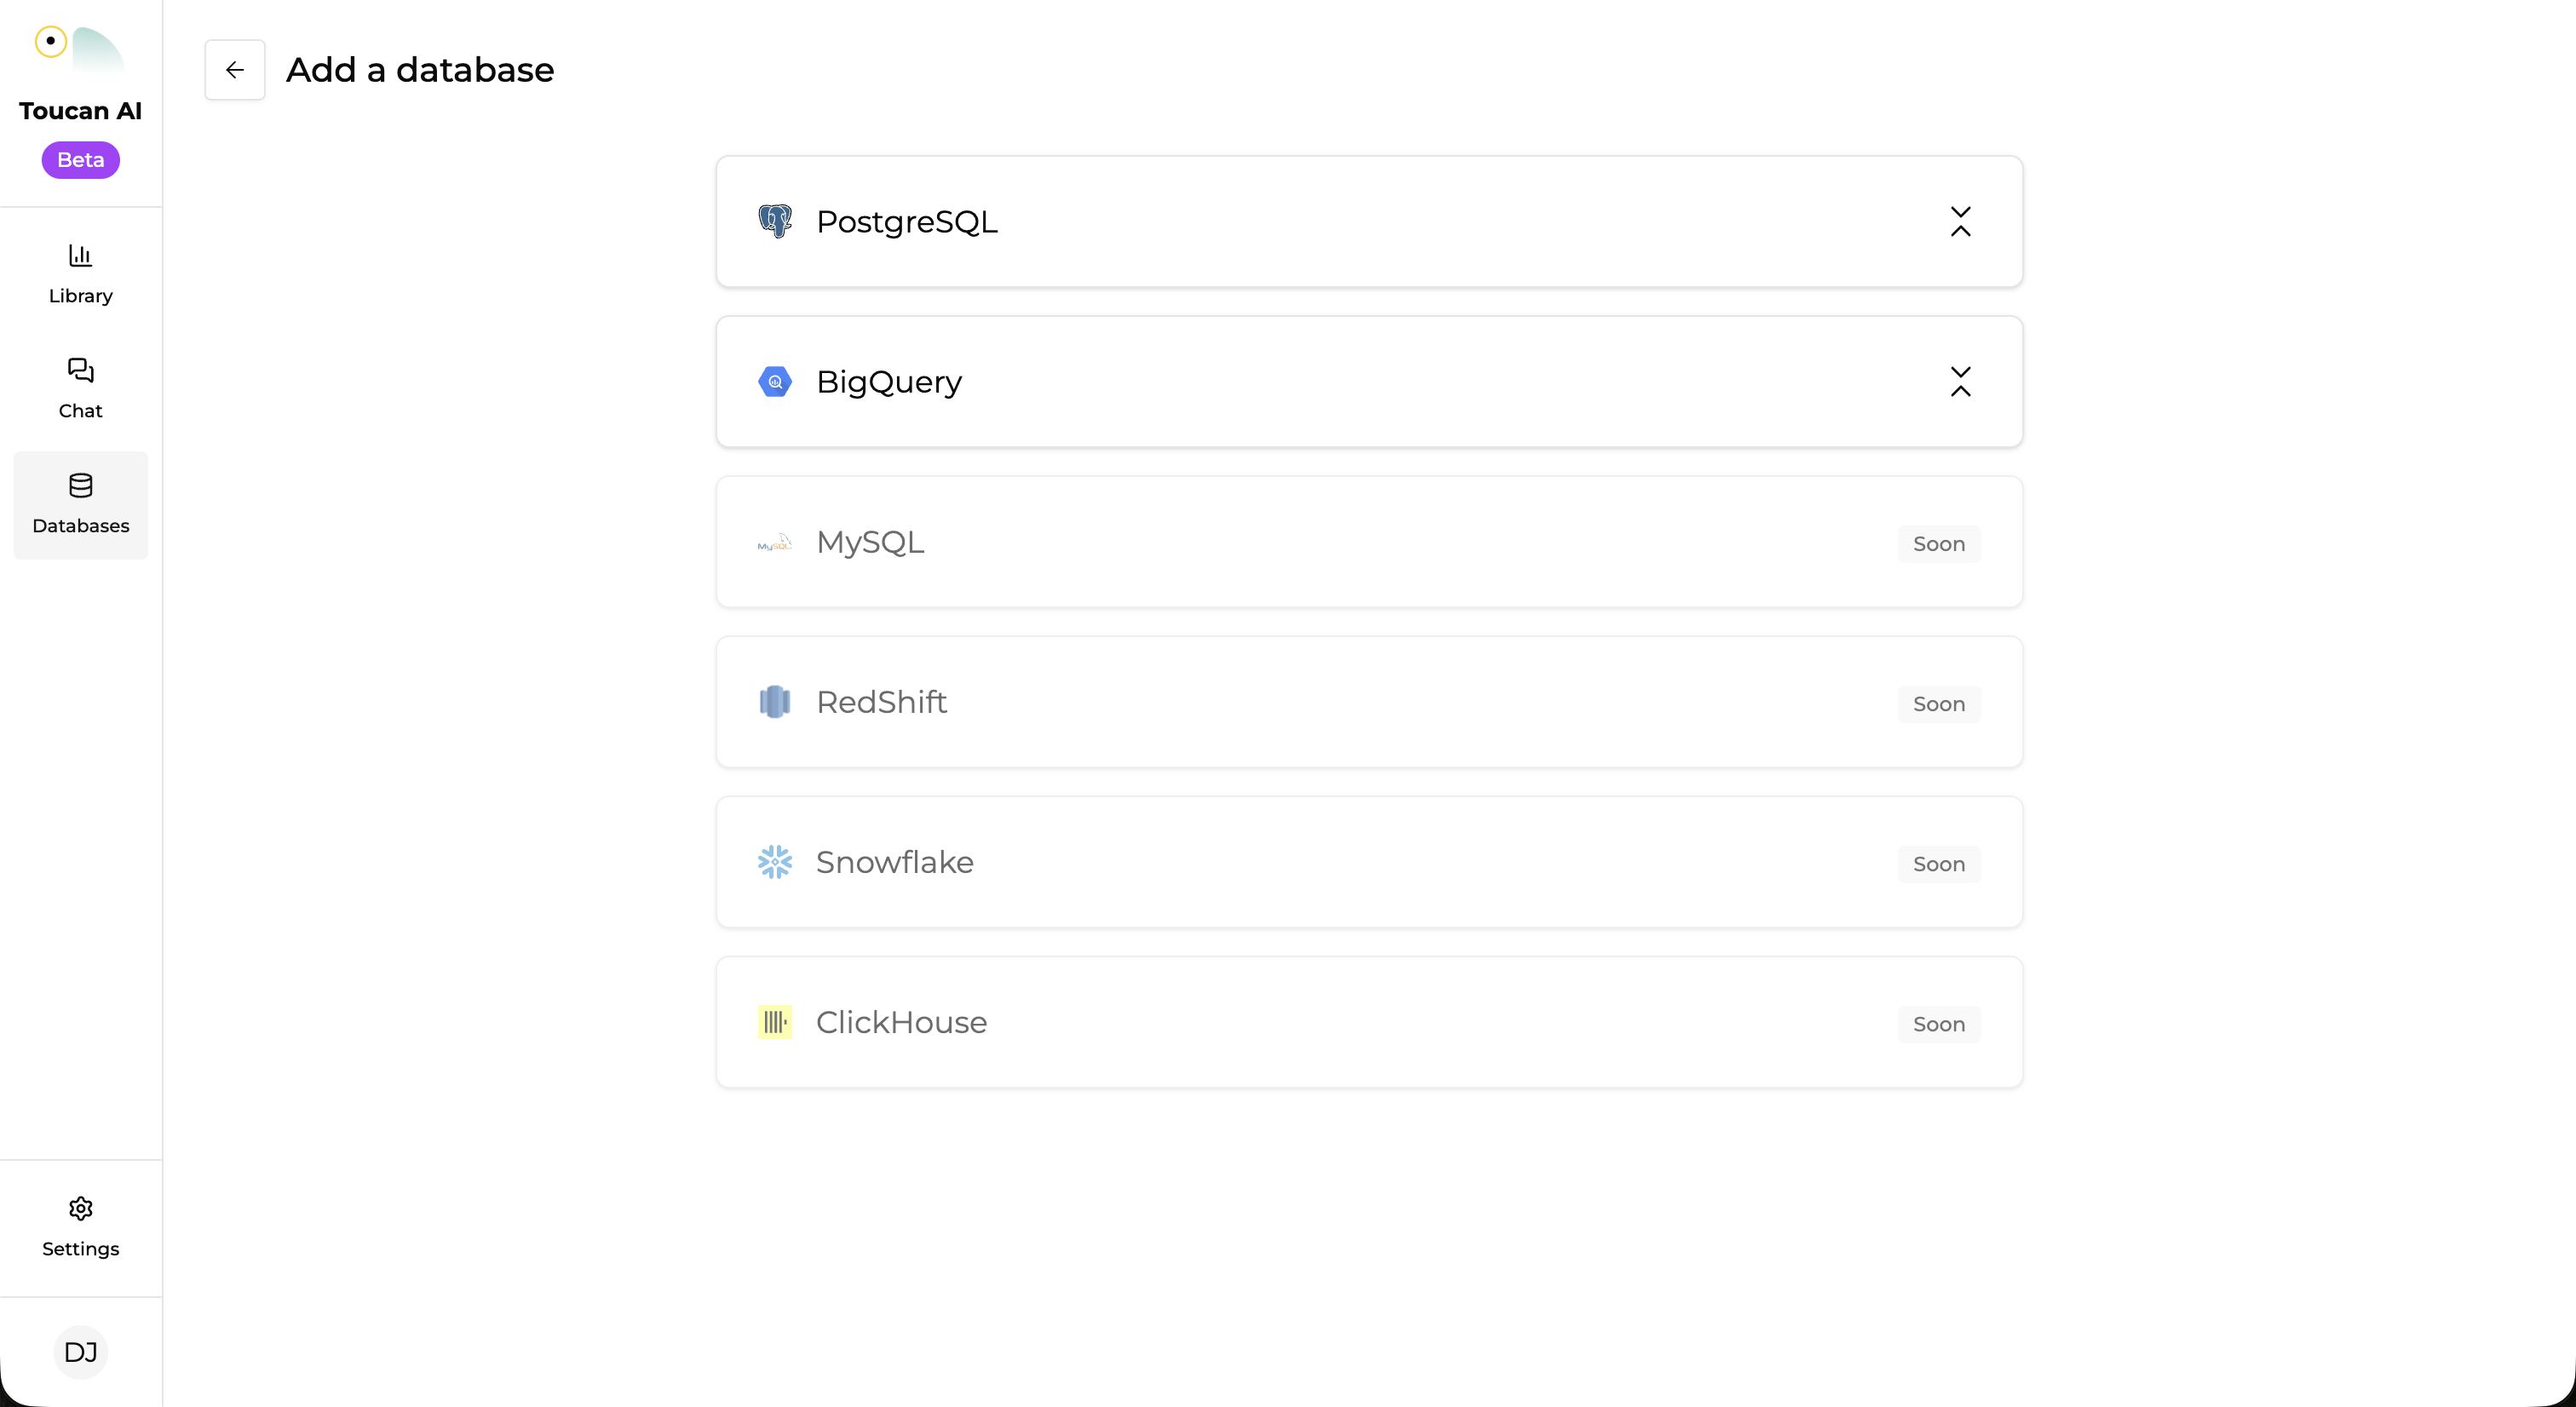
* Select a connector from the available list (**PostgreSQL**, **Google BigQuery**, **MySQL**, **ClickHouse**, **Snowflake**, **Oracle**).

<figure><img src="/files/NEvqa3sCYjdpnkTAd5go" alt="Add a database"><figcaption></figcaption></figure>

#### 3. Input Connection Details

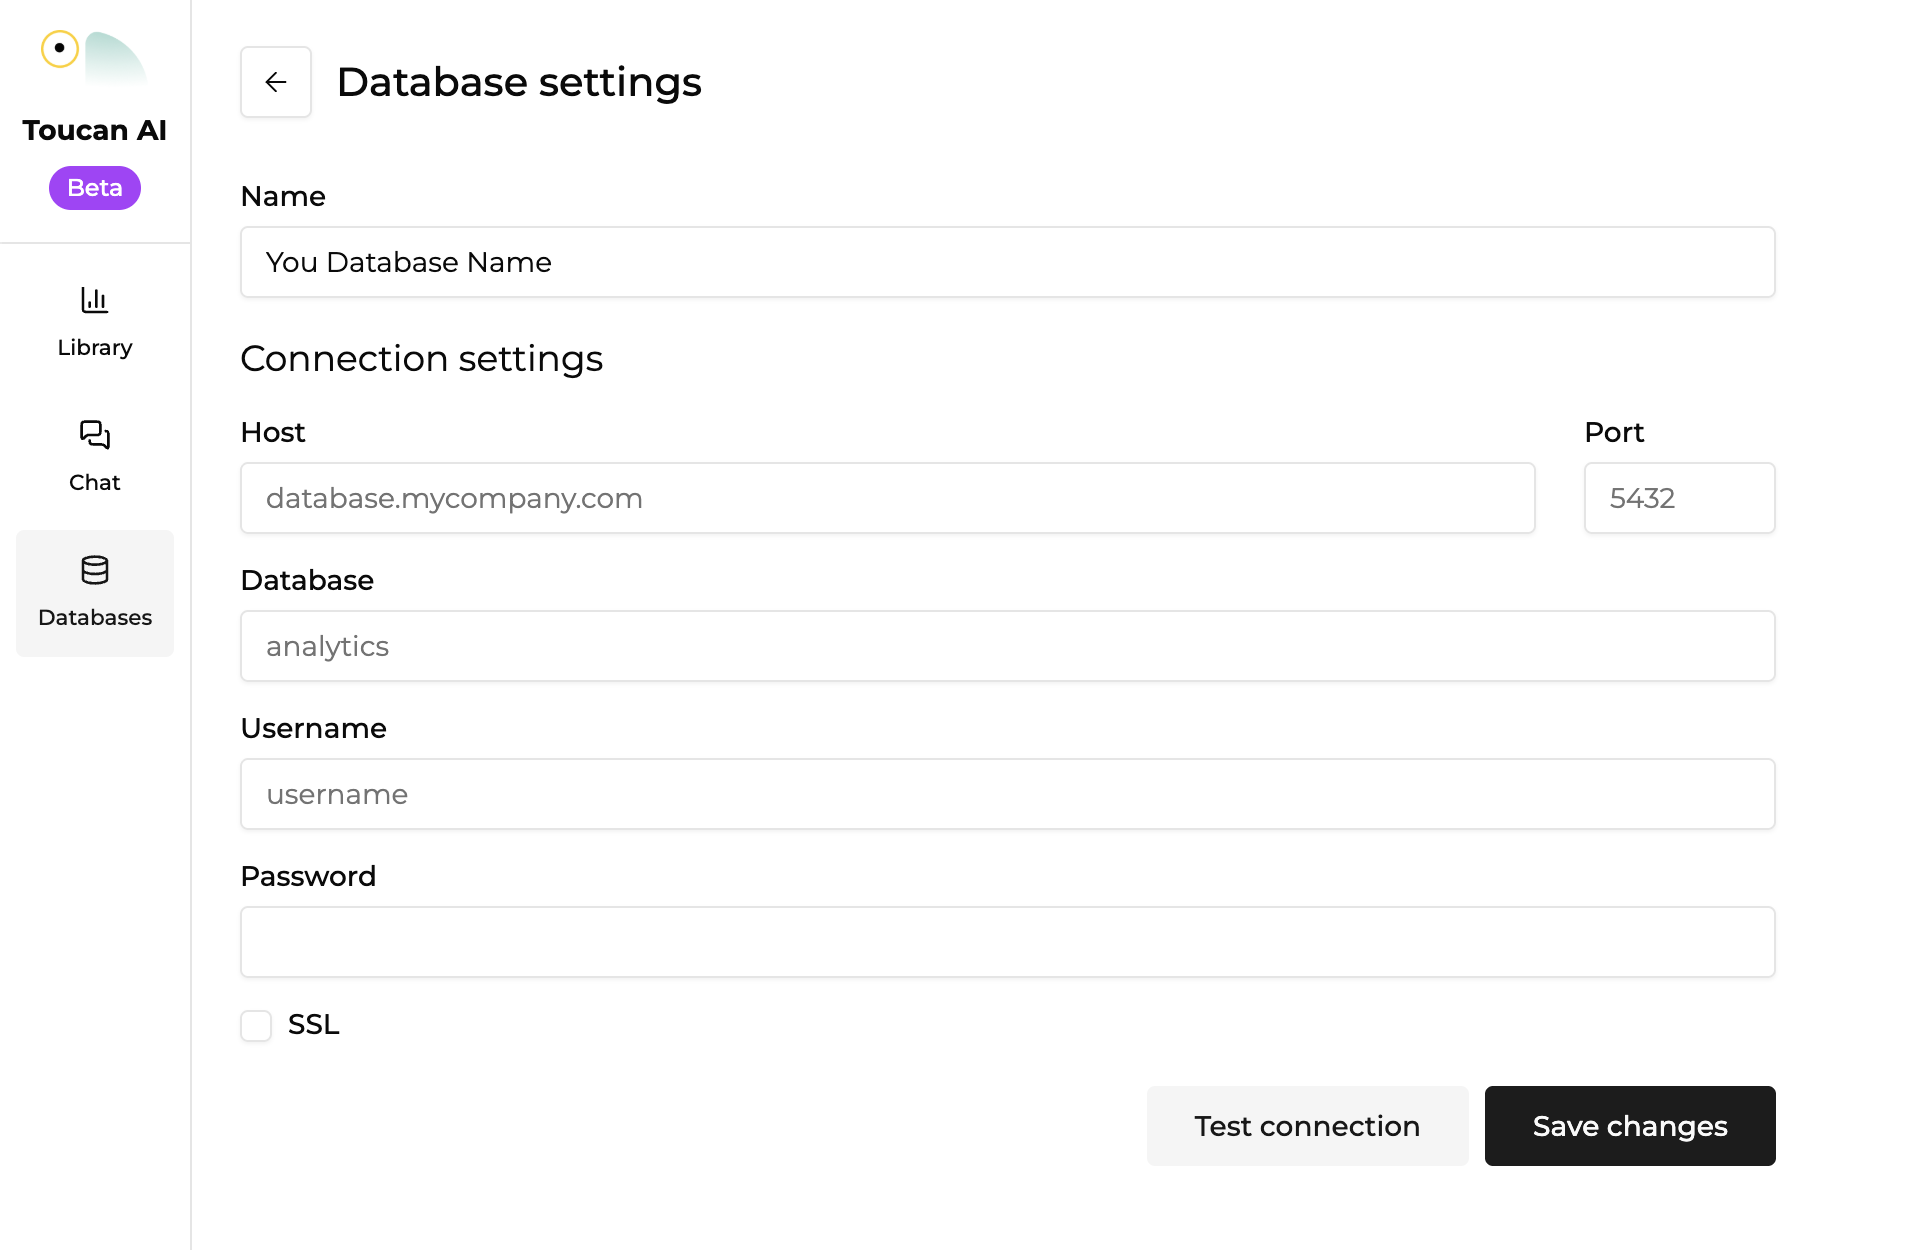
* Enter a **Name** to identify the connection internally.
* Then provide the details required by your connector:

**PostgreSQL**

* **Host** address (e.g., `database.mycompany.com`)
* **Port** (default: `5432`)
* **Database** name (e.g., `analytics`)
* **Username** and **Password**
* **SSL** toggle based on your security requirements

<figure><img src="/files/CNMMOvzRtAgOvQg4Pcw7" alt="Add a PostgreSQL database"><figcaption></figcaption></figure>

**BigQuery**

* Upload your Google service account credentials **JSON** file (credentials format depends on your service account)
* The form will load fields such as `project_id`, `client_email`, and the private key from the JSON

> If you need to review or edit values, you can open **View raw credentials** (collapsible section) inside the form.

**MySQL**

* **Host** address
* **Port** (default: `3306`)
* **User** and **Password**
* **Charset**
* **Database** name
* **SSL Mode**
* If **SSL Mode** is enabled, fill in **SSL CA**, **SSL Cert**, and **SSL Key**.

**ClickHouse**

* **Host** address (for example `hostname.clickhouse.cloud`)
* **Port** (default: `9000`)
* **User**
* **Password** (optional, depending on your ClickHouse setup)
* **TLS** toggle

**Snowflake**

* **Account** (for example `xy12345.us-east-1`)
* **User**
* **Warehouse** (for example `COMPUTE_WH`)
* **Database**
* **Schema** (optional)
* **Role** (optional)
* **Private key (PEM)**
* **Private key passphrase** (optional)

**Oracle**

* **Host** address (e.g. `db.example.com`, or your cloud provider’s hostname)
* **Port** (default `1521`; TLS setups often use a different port—use the value from your provider)
* **User**
* **Password**
* **Service name** (e.g. `ORCL` or the service name from your connection details)
* **TLS wallet (ZIP)** — only when your database requires TLS; upload the wallet archive as provided by your vendor (do not unzip it first)
* **Server certificate DN**, this optional field is displayed after you upload your TLS wallet and allow to verify the identity of a Oracle server during TLS connexion by indicating the Distinguished Name (DN) awaited in the server certificate. This option is required if you use a custom certificate or if you want to use a full DN matching

{% hint style="info" %}
**Oracle TLS wallet**: For managed Oracle databases that require TLS, download the wallet from your provider’s console (e.g. Autonomous Database → **Database connection** → download wallet), then upload that ZIP in the form. Toucan.ai accepts ZIP files up to 500 KB with wallet files at the archive root or in a single folder.

Not supported: pasting files individually, archives larger than 500 KB, deeply nested folder layouts, or relying on `tnsnames.ora` instead of filling **Host**, **Port**, and **Service name** in the form.
{% endhint %}

#### 4. Validate and Save

* Click **Test Connection** to verify that the credentials and network settings are valid.
* Wait for the success notification.
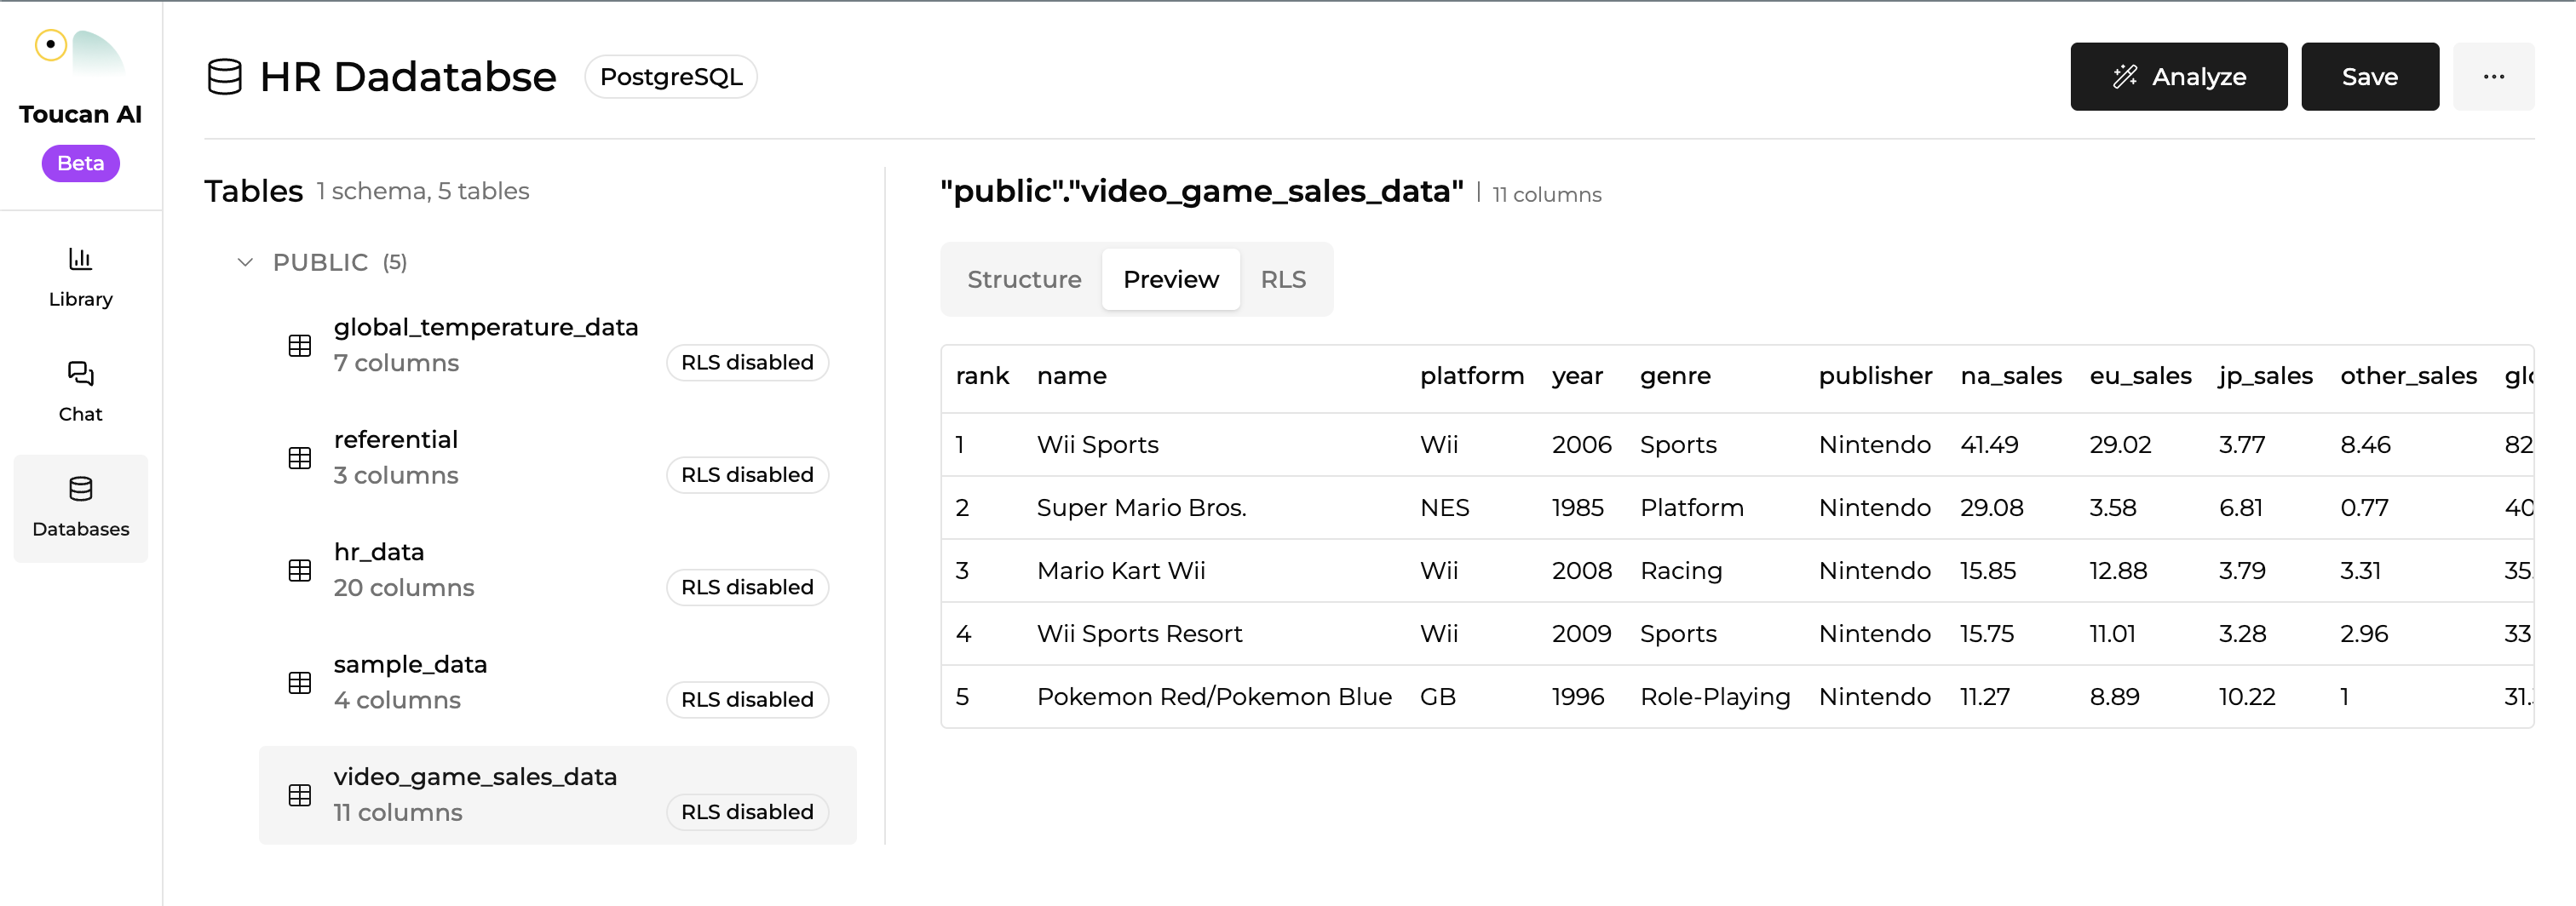
* Click **Connect** to save the configuration to your organization.

<figure><img src="/files/XedmV8OvbyEFHpqySdRB" alt="HR Database"><figcaption></figcaption></figure>

{% hint style="warning" %}
**Constraint**: If the test fails, verify that Toucan.ai IP(s) are allow-listed in your firewall. The UI will display an IP under **IP Whitelist**, and Toucan.ai also publishes the static IP `51.15.216.216` in its documentation.
{% endhint %}

***

### Conclusion

The database is now connected and visible in your organization's database list. You may proceed to analyze the data with AI to generate metadata descriptions.

**Suggested** **Next Steps**: [How-to: Analyse your database with AI](/build/analyze-your-database-with-ai/how-to/analyze-your-database-with-ai.md)